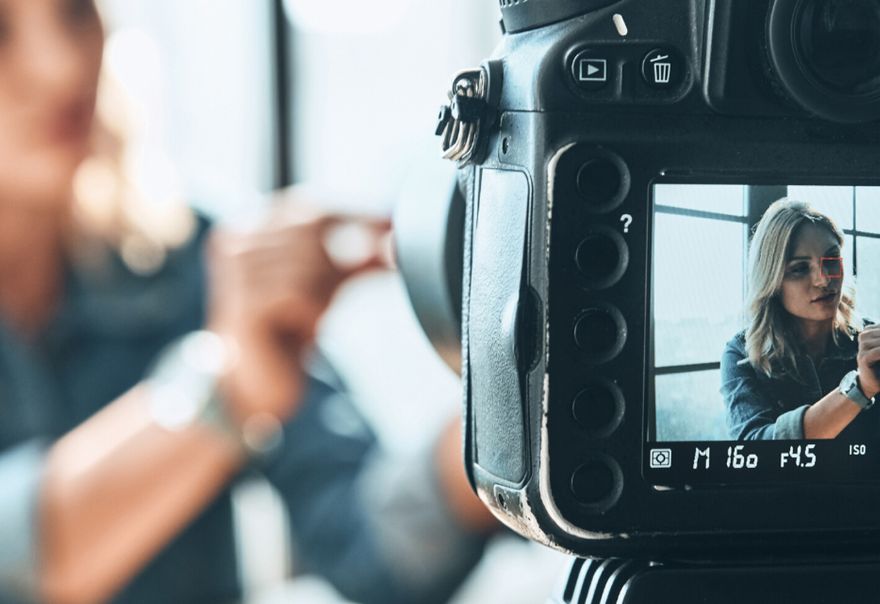
Remember when camcorders were a thing? Capturing family videos meant lugging around its oversized case and spare tapes. Nowadays, if you have a smartphone, you’ve also got yourself a pocket-sized cinema camera that beats a lot of other digital cameras on the market today.
The camera technology built into smartphones is becoming so advanced that even film professionals are recommending them for their quality and practicality. And the best thing is, almost everyone already has one! So no matter how big or small your marketing budget is, you can create industry-grade video content entirely on your smartphone.
Now, let’s take a look at how you can get started...
Invest in a tripod
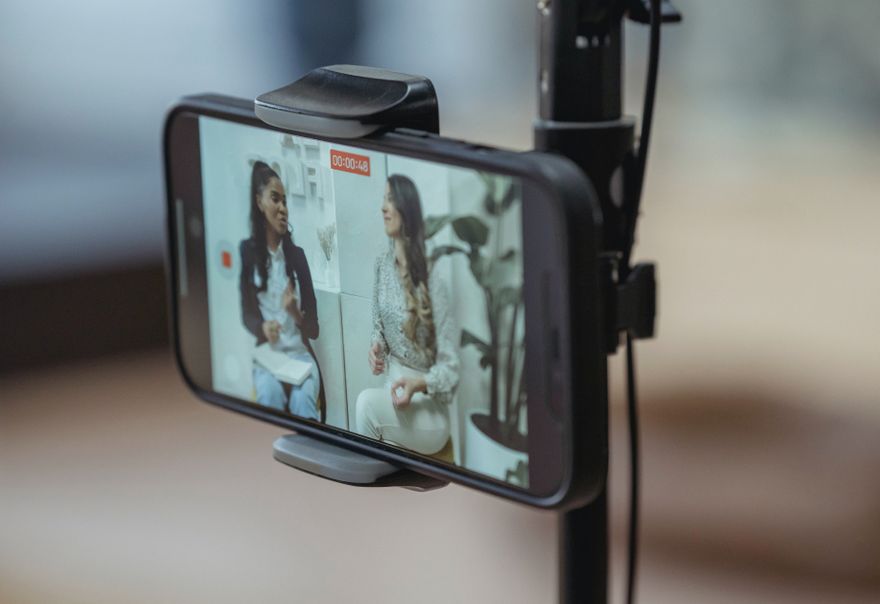
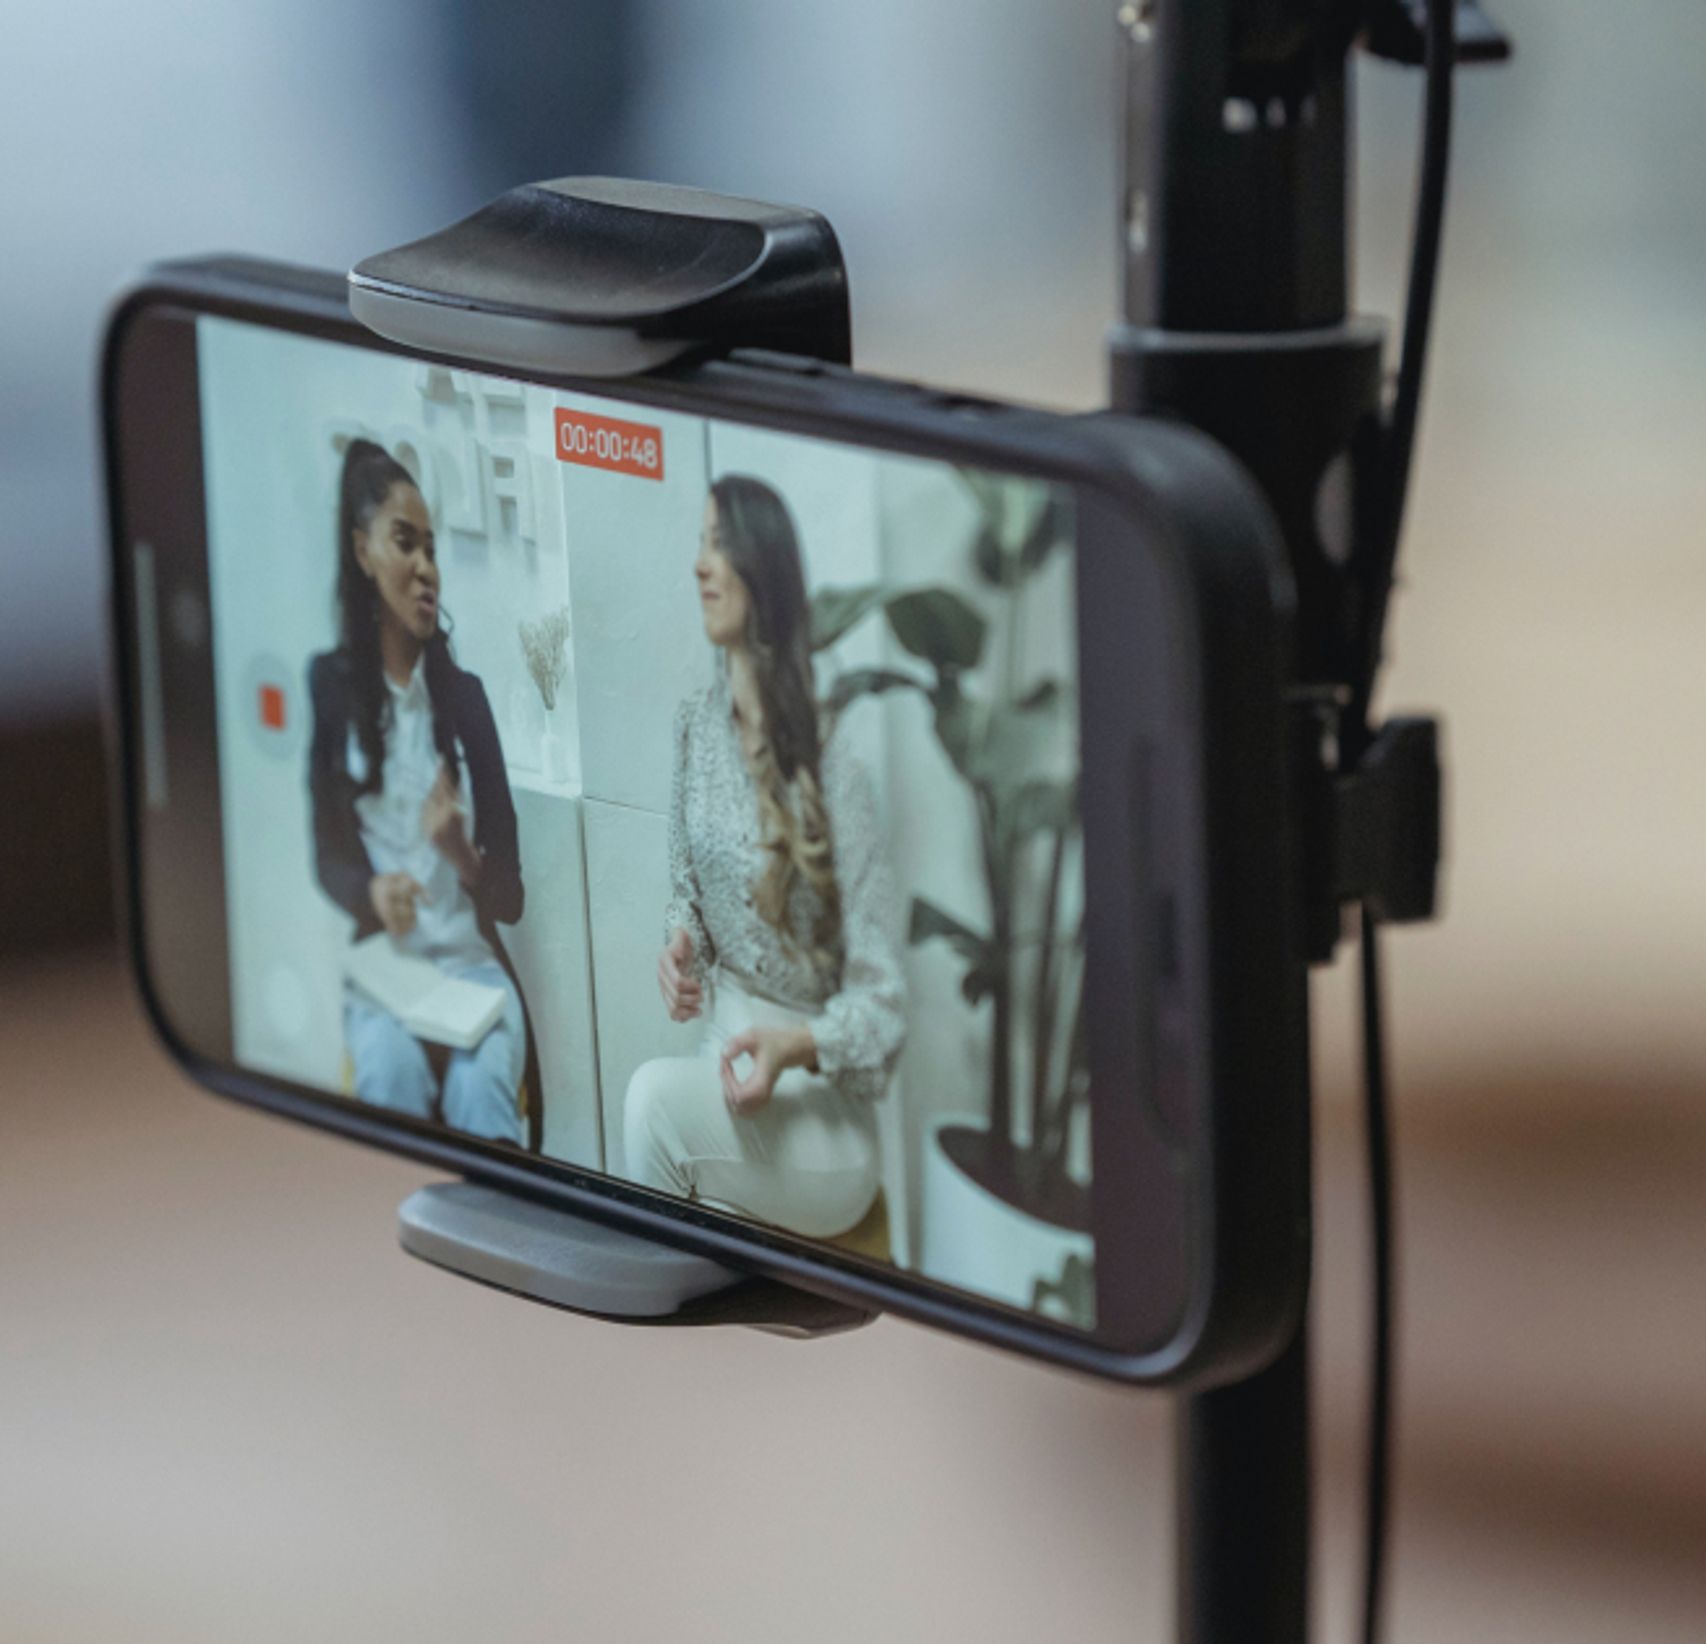
One of the biggest challenges of filming on a smartphone is that it’s designed to be handheld. This is why you’ll notice that most new smartphones will have inbuilt image stabilization, which helps to reduce the effect shaky hands can have on your footage. A steady shot looks professional and draws attention to your subject, handheld footage, on the other hand, is known to be distracting. So even if you think you have the hands of a surgeon, we always recommend using a tripod.
There are a tonne of affordable tripods specifically designed for smartphones on the market, but if you’re not looking to spend much money, a quick Google will also help you set up a DIY solution. Our favorite tripod is the JOBY GripTight Mount – affordable, easy to use, and fits most smartphone sizes. This mount also allows you to attach your phone to any tripod, monopod, or stabilizer that you have, and enables you to film both vertically and horizontally. As each social media platform has different filming requirements (e.g. vertical for Instagram), this is an important feature to have. Alternatively, the JOBY GripTight Telepod is an all-in-one solution that’s great for popping on a desk to get eye-level shots too.
Upgrade your audio
We’re calling it, audio is one of the most important features of any video! The tricky thing is that the audio quality on your smartphone often isn't top-notch. When it comes to audio, there’s a general rule that the smartphone should be as close as possible to the speaker to get the cleanest sound. Even if you’re only a few meters away from your subject, your smartphone won’t be able to clearly capture their audio. This is to no fault of your smartphone, they’re designed to be spoken into at close-range, so you should consider using an external microphone to boost that audio quality. But if you can’t there’s no need to stress, you can use a second smartphone instead.
To record audio on your smartphone open your voice memo app, and hit record. If you face the phone's microphone close and toward your subject, your audio will be instantly improved. To save time editing, clap once at the beginning of the recording as a reference point for your video and audio. You’ll then be able to easily find the point of the clap and synchronize your high-quality audio on the memo with the audio in your video.
Add some lights
Smartphones generally require a lot of light to create the best videos. If you notice pixelation or grain around any dark areas of your video, it’s a sign that your environment is too dark. The goal of lighting is to make your subject stand out from the background. You can achieve this by being intentional about using both natural and artificial lighting.
If you're filming indoors, a couple of cheap softbox lights or well-placed windows can go a long way. Natural light looks excellent on camera, so when positioning your subject indoors, try to use windows to your advantage. To get the best result, position your subject either parallel or facing toward the window – we promise that you’ll notice a huge difference in color and quality.
If you're filming outdoors, you shouldn’t need to worry about any extra lighting equipment, it will be about choosing the right time of day to film. As a rule, the best times to film are in the morning and in the evening when the sun is at its least harsh. It’s always best to avoid filming at midday as it can create a lot of harsh shadows, making it difficult to expose correctly.
Manage your settings
Recording settings can be confusing and you might just find yourself just sticking to the defaults. But, to get the best out of your smartphone camera, you need to know a few simple settings that will significantly improve your overall quality of the image.
What image quality should I use?
Many of the newer smartphones can record a 4K resolution of up to 60 FPS (frames per second), which is an amazing resolution. To put it in perspective, 4K resolution is 4x the size of 1080 HD. Your phone will also have other options to record at 1080 HD with higher frame rates up to 240 FPS or 720 SD with a similar high frame rate.
If you have the option to record at 4K 24 FPS, this is the highest definition your phone will be able to film, with the smallest file size when filming 4K. All movements will look natural and it’s generally the best setting for low-light areas. On the other hand, 1080 HD is still a great setting, but we recommend using it for slow-motion shots. Due to its high frame rates, you can slow down the footage and get great action shots.
Focus lock and manual exposure
Your smartphone will automatically adjust focus and exposure, which really comes in handy for quick photos and videos. But when you’re filming a still shot, your smartphone's exposure and focus can jump around, creating a strange effect by trying to find the right point to focus on. Most smartphones will allow you to lock the focus and set your exposure so that you can use it as a proper digital camera.
On an iPhone for example, you can lock autofocus on your subject. You can do this by holding your finger on the focal point until it says ‘AF Lock’. You can then manually set your exposure by dragging up or down on the sun icon. Getting the right exposure can be tricky, it’s important to never over or underexpose your shots. A handy tip is if you start to lose detail around the bright areas of your image you're most likely overexposed and if your subject blends into the dark, you're most likely underexposed.
Editing your video
Now that you have all of your footage, it's time to slice it all together, add some color, and get creative with effects! Luckily there are plenty of video editing programs available that make it easier and faster to use than ever before. With programs like Adobe Rush and iMovie, you can edit videos on your phone just as you would on a computer and it’s easier than you might think!
Adobe Rush is the easiest way to edit and create high-quality videos on your smartphone. One of the great features of Adobe Rush is that it allows you to add motion graphics, video effects, and text, and also mix audio. If you do prefer a bigger screen to edit on, Adobe Rush seamlessly hands over the files to your computer so you can pick up where you left off on your smartphone. This tool is simple to operate, and there are plenty of guides and tutorials online to get started. Keep in mind though, just like other Adobe products this program has a monthly cost and is included if you have purchased the Adobe Suite.
You’ve probably already heard of iMovie, Apple’s free video editing software that can be used on your iPhone or Mac. Just like on Adobe Rush, you can add titles, music, and special effects to your video clips. iMovie is incredibly user-friendly, especially if you’re new to editing. The key difference between Adobe Rush and iMovie is that Adobe Rush has more professional and technical adjustments, whereas iMovie has much more video effects and transitions compared.
To wrap up
If you didn’t already know it, your smartphone can be used as a powerful tool to capture high-quality video content. By applying the techniques we covered in this post, you’ll be able to improve the overall quality of your content. So, what are you waiting for? Get your smartphone out and start creating content your community will love.